Shutter Installation Guide for London Homes: 7 Expert Tips
Shutter Installation Guide for London Homes
Welcome to London Essex Shutters & Blinds! If you’re considering enhancing your home with premium window coverings, you’ve come to the right place. Our shutter installation guide for London homes will provide you with all the essential information you need to make informed decisions and execute a successful installation. Let’s get started!
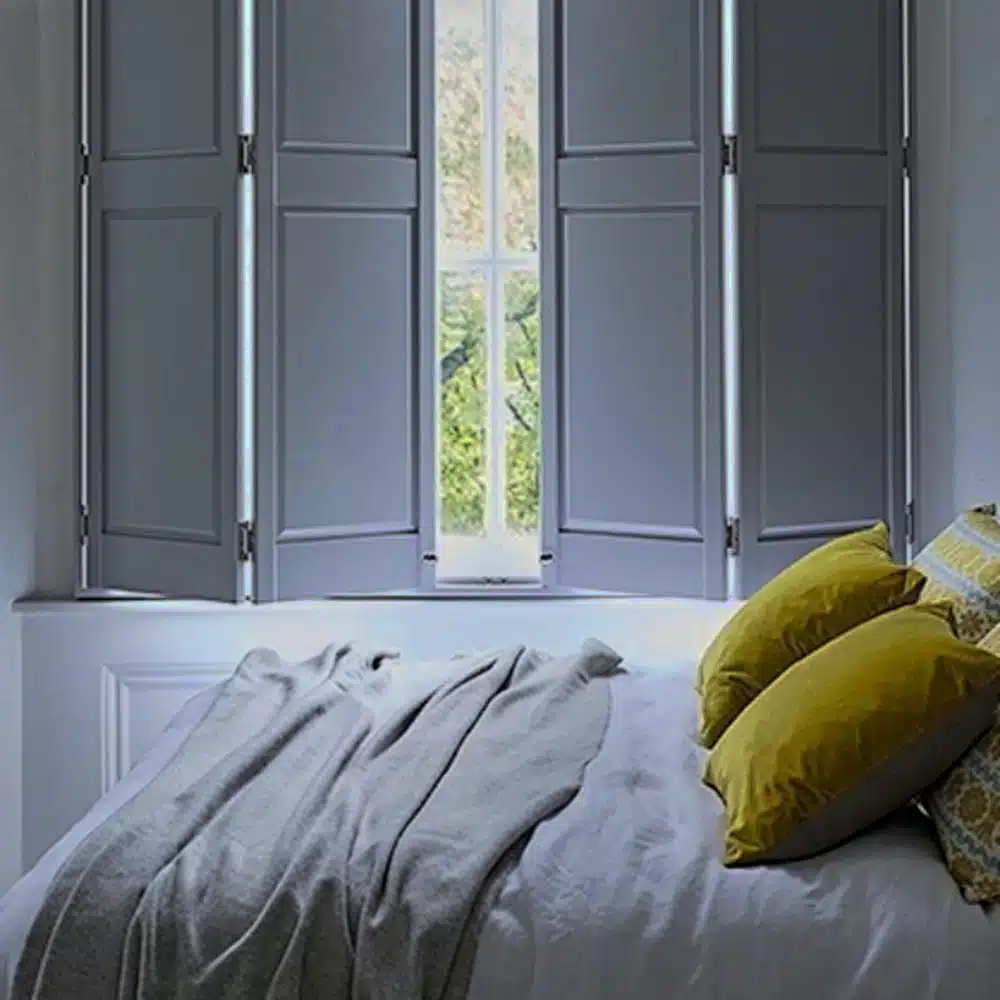
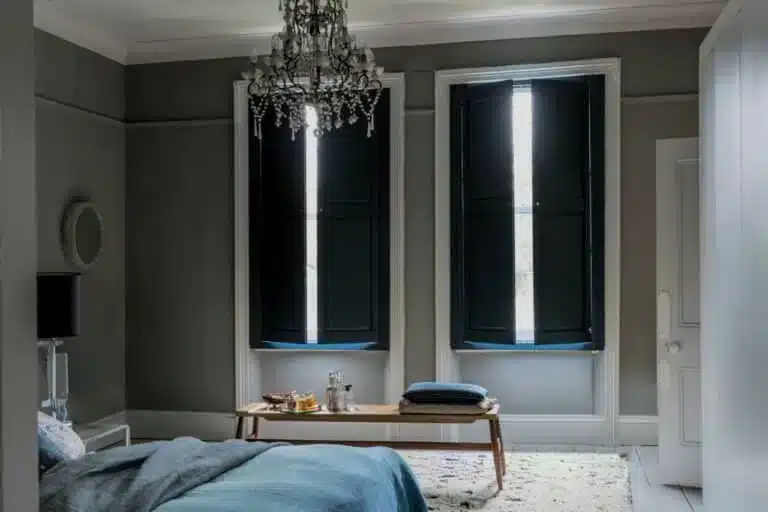
Why Choose Shutters?
Shutters are a versatile and stylish solution for window coverings, offering a blend of aesthetics and functionality. They enhance privacy, improve energy efficiency, and add a touch of elegance to your space. Here’s why you should consider them:
- Light Control: Adjust the slats to achieve the desired level of natural light.
- Durability: Made from high-quality materials, shutters are built to last.
- Easy Maintenance: Simple to clean and maintain over time.
- Increased Home Value: Adding shutters can improve the overall value of your property (Government: Improve Energy Efficiency).
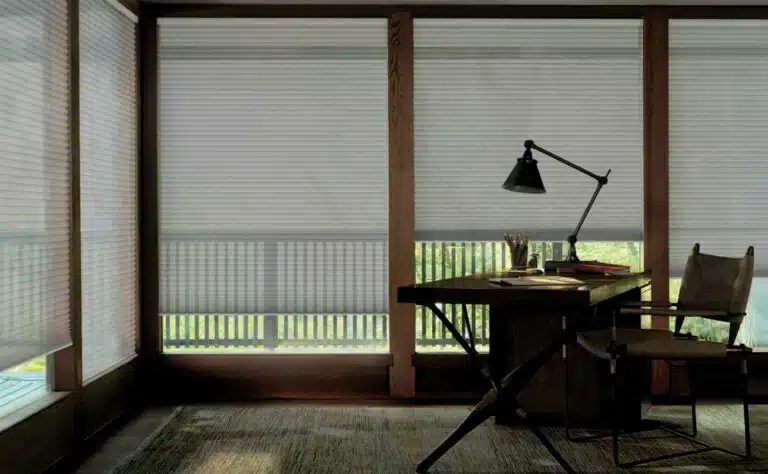
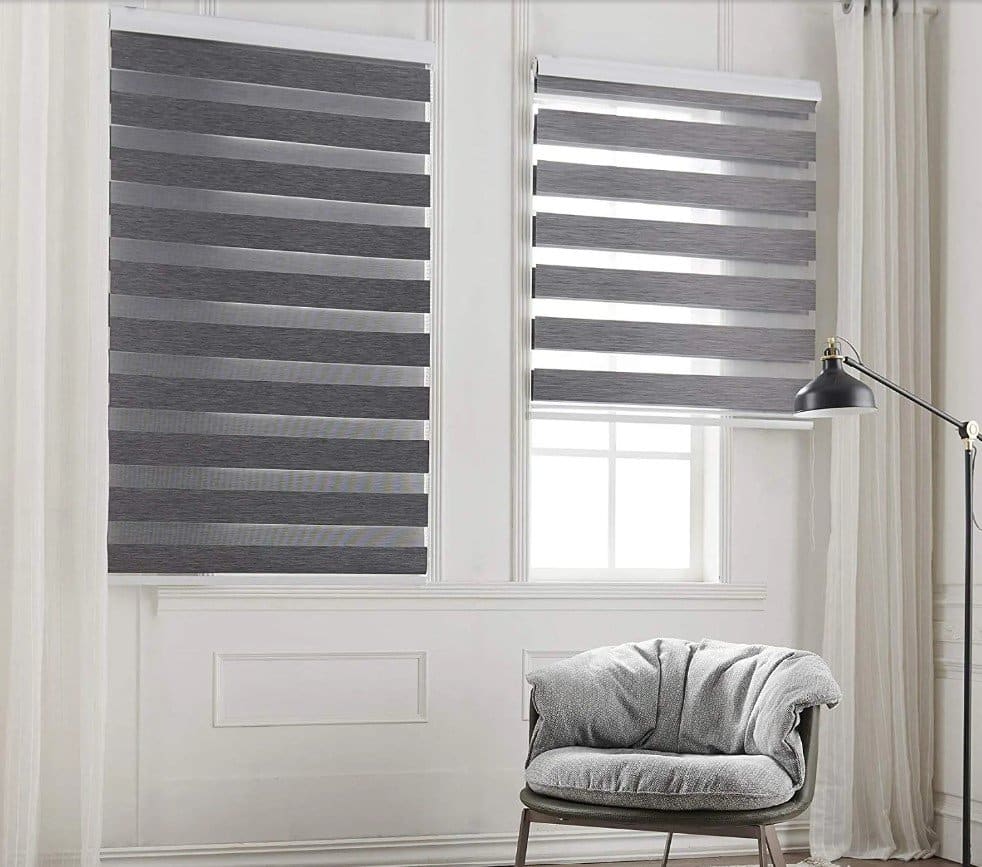
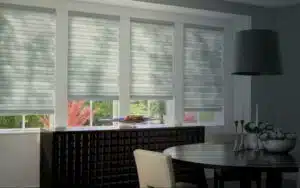
Types of Shutters Available
Before we dive into the detailed installation process, let’s explore the types of shutters available:
- Full-Height Shutters: Cover the entire window; perfect for maximizing privacy and light control.
- Café Shutters: Ideal for ground-floor windows; offers privacy while allowing natural light to enter.
- Tier-on-Tier Shutters: Two separate panels for maximum control over light and privacy.
- Special Shape Shutters: Custom shapes for unique windows, ensuring no space is too complicated.
Measuring for Your Shutters
Accurate measurements are crucial for a successful shutter installation. Follow these steps to measure your windows:
Tools Needed:
- Measuring tape
- Pencil
- Notepad
Step-by-Step Measurement Process:
- Measure Width: Measure the width at the top, middle, and bottom of the window. Use the smallest of the three measurements.
- Measure Height: Measure the height from the top of the window frame to the bottom in three places. Again, use the smallest measurement.
- Consider Frame Type: Note if your window has a recess or an exterior frame, as this will influence the type of installation brackets needed (Homebuilding: Bay Windows).
Preparing for Installation
Once you have your shutters ordered based on your measurements, preparation is key. Here’s what to consider:
- Gather Required Tools: You will need a drill, screwdriver, level, and possibly a saw if your shutters require adjustments.
- Read the Instructions: Each shutter type will come with specific instructions. Familiarize yourself with them before starting.
- Check for Level and Square: Ensure your window frame is level and square before installation to avoid any complications.
Installing Your Shutters
Now that you’re prepared, let’s walk through the installation process for your shutters:
Step-by-Step Installation:
- Position the Shutter Panel: Hold the shutter panel against the window frame to find the best position.
- Mark Bracket Placement: Use a pencil to mark where your brackets will fit, ensuring they are level.
- Drill Holes: Drill pilot holes for the screws, making it easier to install the brackets.
- Attach Brackets: Secure the brackets to the frame using screws.
- Hang the Shutter Panels: Attach the panels to the brackets carefully, ensuring they open and close smoothly.
- Adjust as Needed: Make any final adjustments to ensure everything operates seamlessly.
Finishing Touches
After installation, consider the following finishing touches:
- Test Functionality: Open and close the shutters to make sure everything operates smoothly.
- Inspect for Gaps: Ensure there are no gaps that may allow light to pass through where it shouldn’t.
- Final Clean: Wipe down the shutters to remove any dust or fingerprints from the installation process.
Maintenance Tips for Longevity
To keep your shutters looking great and functioning well, follow these maintenance tips:
- Regular Dusting: Use a microfiber cloth or feather duster to regularly remove dust and dirt.
- Spot Cleaning: For stains, use a damp cloth with mild soap.
- Avoid Harsh Chemicals: Strong cleaning products can damage the finish of your shutters.
When to Seek Professional Help
If you’re feeling uncertain about taking on this DIY project or if your windows have unique challenges, it may be best to contact our experts at London Essex Shutters & Blinds. We offer professional shutter installation services that ensure optimal results. You can reach us directly at 01277 592419 or email us at londonshutters@outlook.com.
Conclusion
Investing in shutters is a fantastic way to enhance your home’s aesthetic and functionality. With our shutter installation guide for London homes, we hope you feel empowered to take on this project yourself. Remember, quality materials, precision measurements, and attention to detail will result in a beautiful finish that you can cherish for years to come.
For bespoke recommendations and professional installation, London Essex Shutters & Blinds is here for you. Let’s help you find the perfect solution tailored to your needs!
