Plantation Shutters Installation Step-by-Step Guide
Plantation Shutters Installation: A Step-by-Step Guide
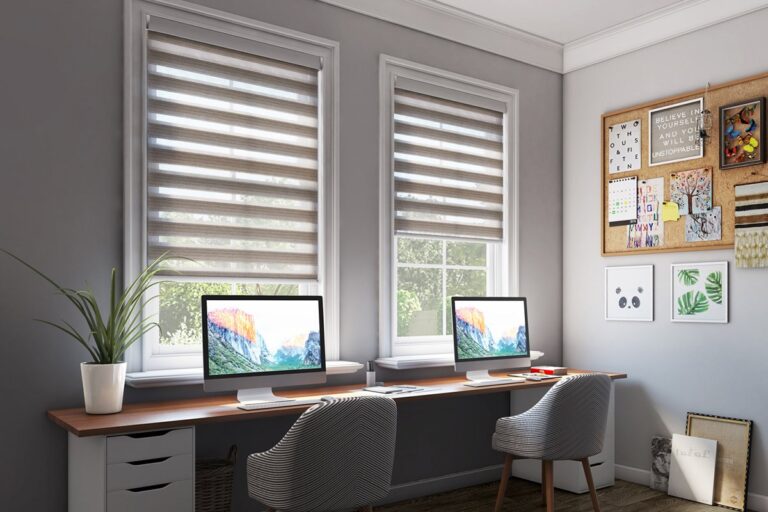
When transforming your home with stylish window treatments, plantation shutters are an excellent choice. They offer both aesthetic appeal and functional advantages, including light control and privacy. In this article, we will walk you through the plantation shutters installation step-by-step process to ensure you achieve a flawless finish.
Why Choose Plantation Shutters?
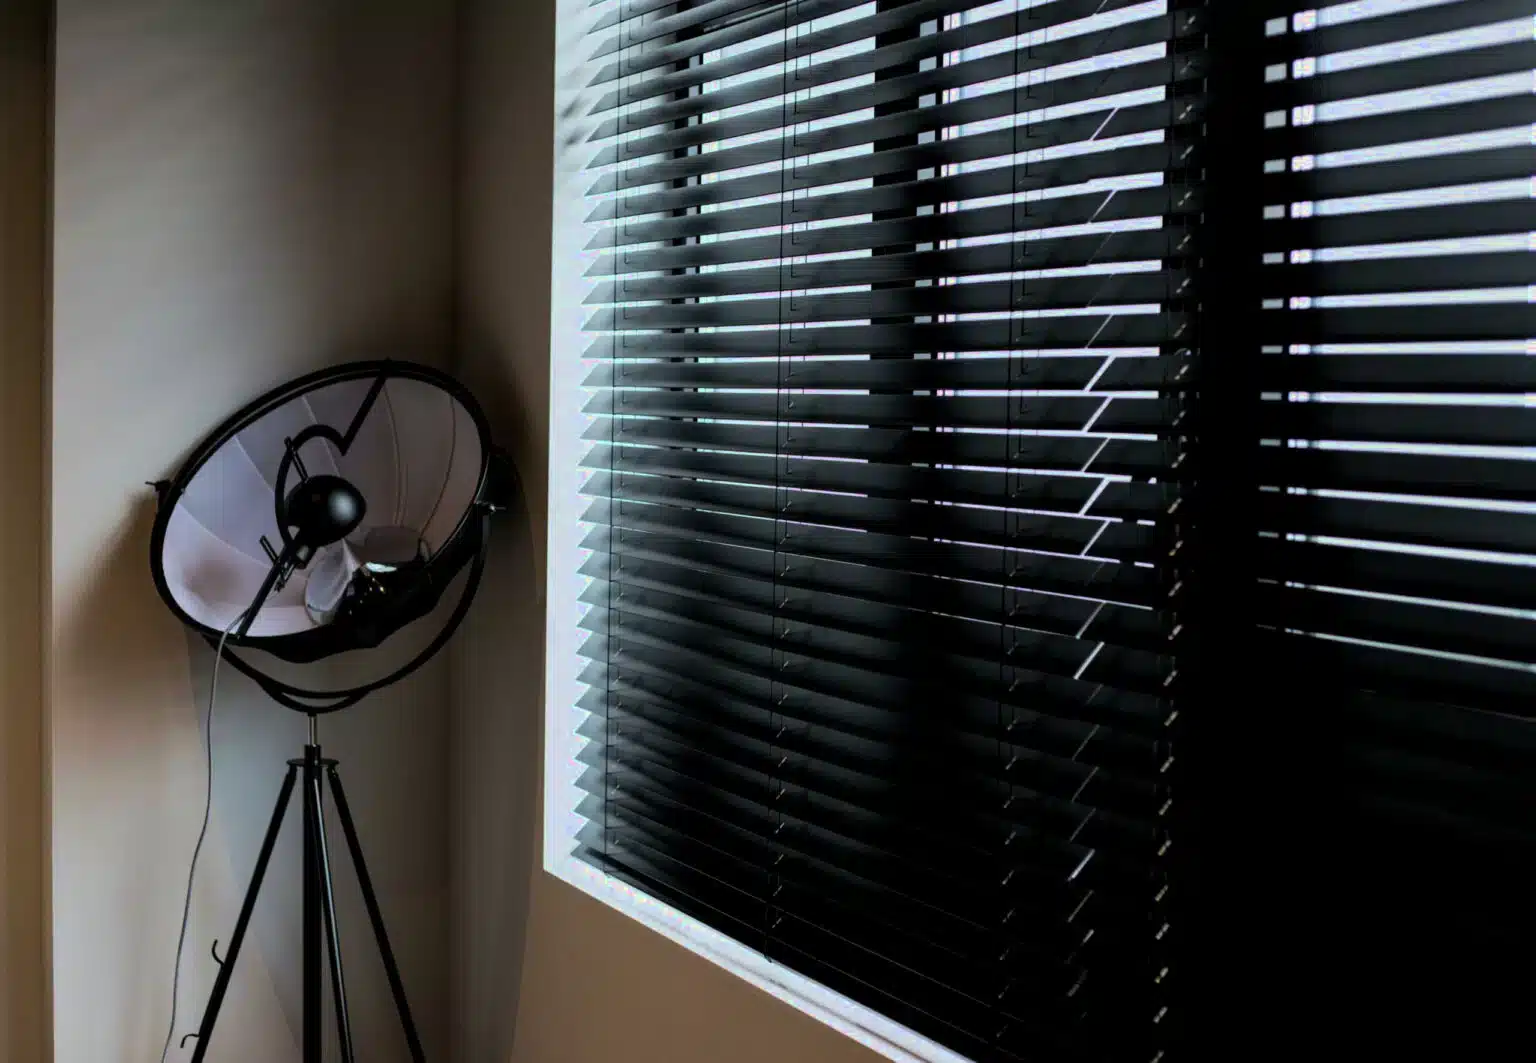
- Versatility: They suit various interior styles.
- Durability: Made from high-quality materials for longevity.
- Energy Efficiency: Help in regulating indoor temperatures. For more detailed information on improving energy efficiency, visit the UK Government’s energy efficiency guidelines.
Step 1: Gather Your Tools and Materials
Before starting the plantation shutters installation step-by-step, ensure you have all necessary tools and materials. Here’s what you will need:
- Plantation shutters
- Measuring tape
- Drill and drill bits
- Screwdriver
- Level
- Pencil
- Safety goggles
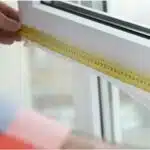
Step 2: Measure Your Windows
Accurate measurements are vital for a perfect fit. Measure the width and height of your window frame.
- For an inside mount, reduce the width by 1/4 inch.
- For an outside mount, add an allowance of at least 3 inches on all sides.
Step 3: Prepare the Shutters
Once you receive your made-to-measure plantation shutters, inspect them for any defects. Lay them flat on a soft surface to avoid scratches. If your shutters come with frames, ensure they are assembled correctly.
Step 4: Mark the Installation Point
Using a level, hold the shutters up to the window frame to check how they will fit. Mark the locations for the mounting brackets with a pencil.
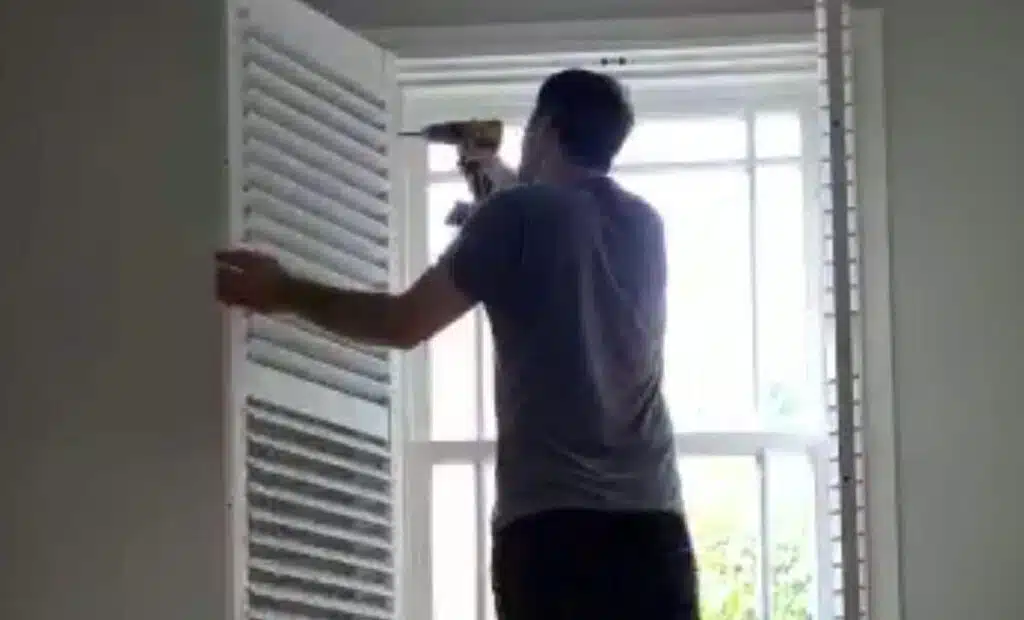
Step 5: Install the Mounting Brackets
Using a drill, attach the mounting brackets at the designated spots. Make sure they are level to avoid a crooked installation. If you’re unsure about the installation process, consider consulting our guide on shutter installation for additional tips.
Step 6: Hang the Shutters
With the mounting brackets securely in place, it’s time to hang the shutters. Position the shutters onto the brackets and ensure they are properly fixed. For those looking for more information specific to their region, check out our services in Rochford or Essex.
Step 7: Adjust and Test
After hanging, open and close the shutters to test their functionality. Make any necessary adjustments to ensure smooth operation.
Step 8: Finishing Touches
Finally, check the aesthetics of your shutters. Ensure there are no gaps and that they are symmetrical. If everything looks good, enjoy your new plantation shutters!
Maintenance Tips for Plantation Shutters
- Regularly dust using a microfiber cloth.
- Use mild detergent and a soft cloth for deep cleaning.
- Lubricate hinges to maintain smooth operation.
Conclusion
Opting for plantation shutters enhances your home’s décor and functionality. With our plantation shutters installation step-by-step guide, you can confidently install your shutters for a polished look. If you need additional help, don’t hesitate to contact London Essex Shutters & Blinds for expert advice and installation services. Transform your space today by exploring our Vange installation services or get a quote on installation costs in Dagenham!
Contact Us
For more information, call us at 01277 592419 or email londonshutters@outlook.com. Let us help you enhance your home with elegant, functional plantation shutters!

