Best Practices for Tier-on-Tier Shutter Installation
Best Practices for Tier-on-Tier Shutter Installation
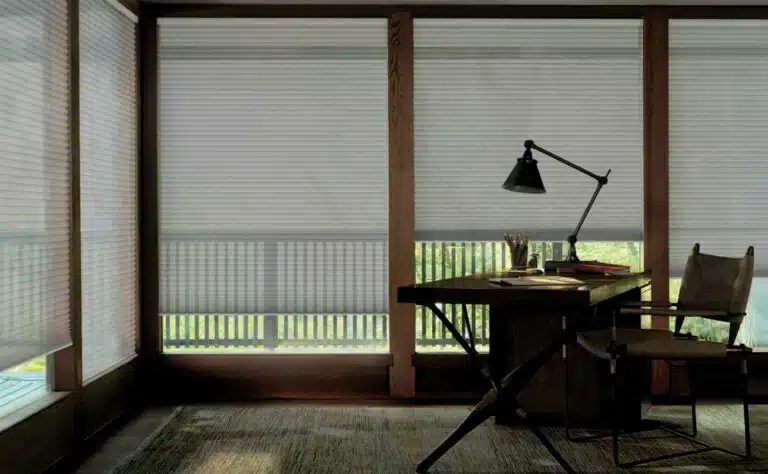
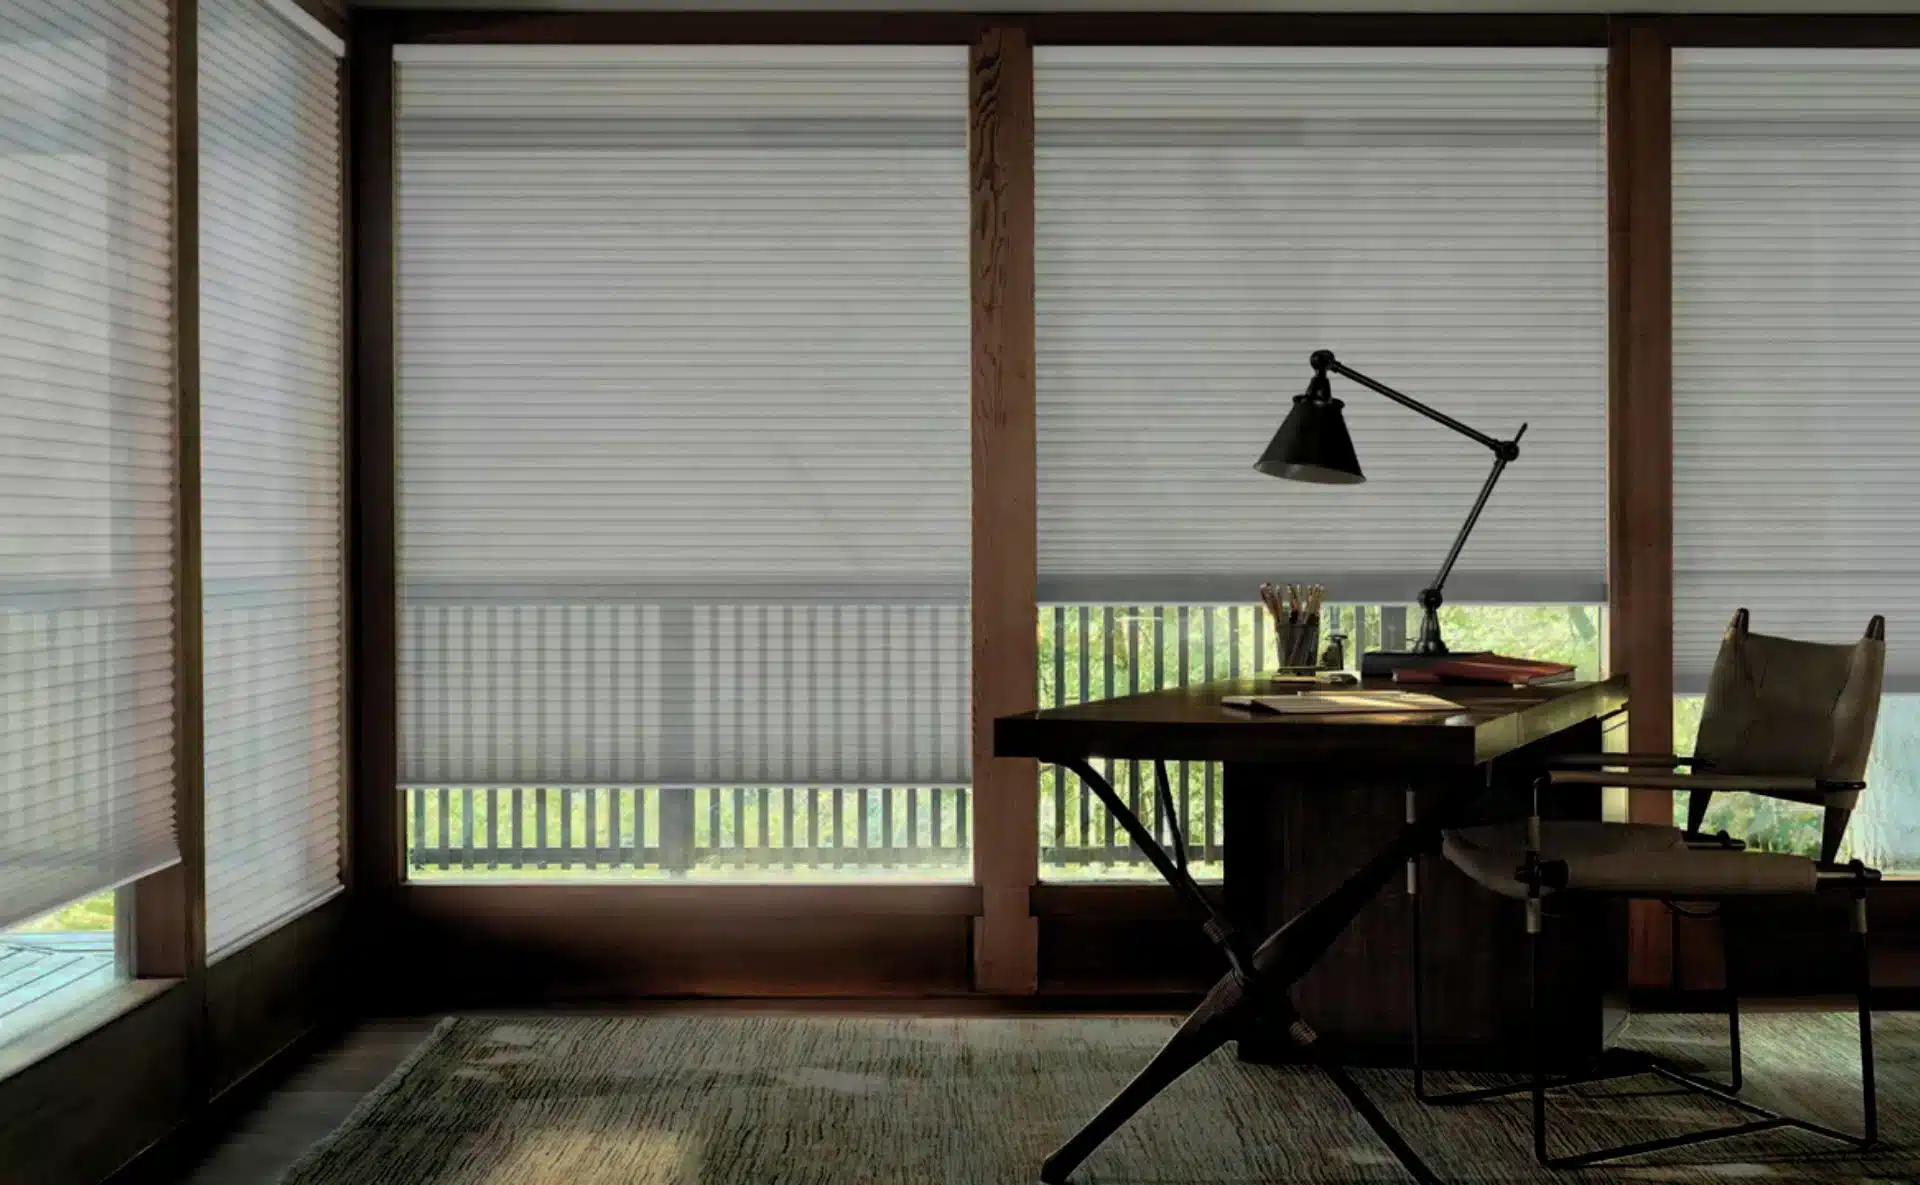
Tier-on-tier shutters are a popular choice for homeowners looking to enhance the beauty and functionality of their windows. They provide versatile light control and privacy options, making them perfect for any room. In this article, we will guide you through the best practices for tier-on-tier shutter installation, ensuring you achieve the perfect look and functionality.
1. Understanding Tier-on-Tier Shutters
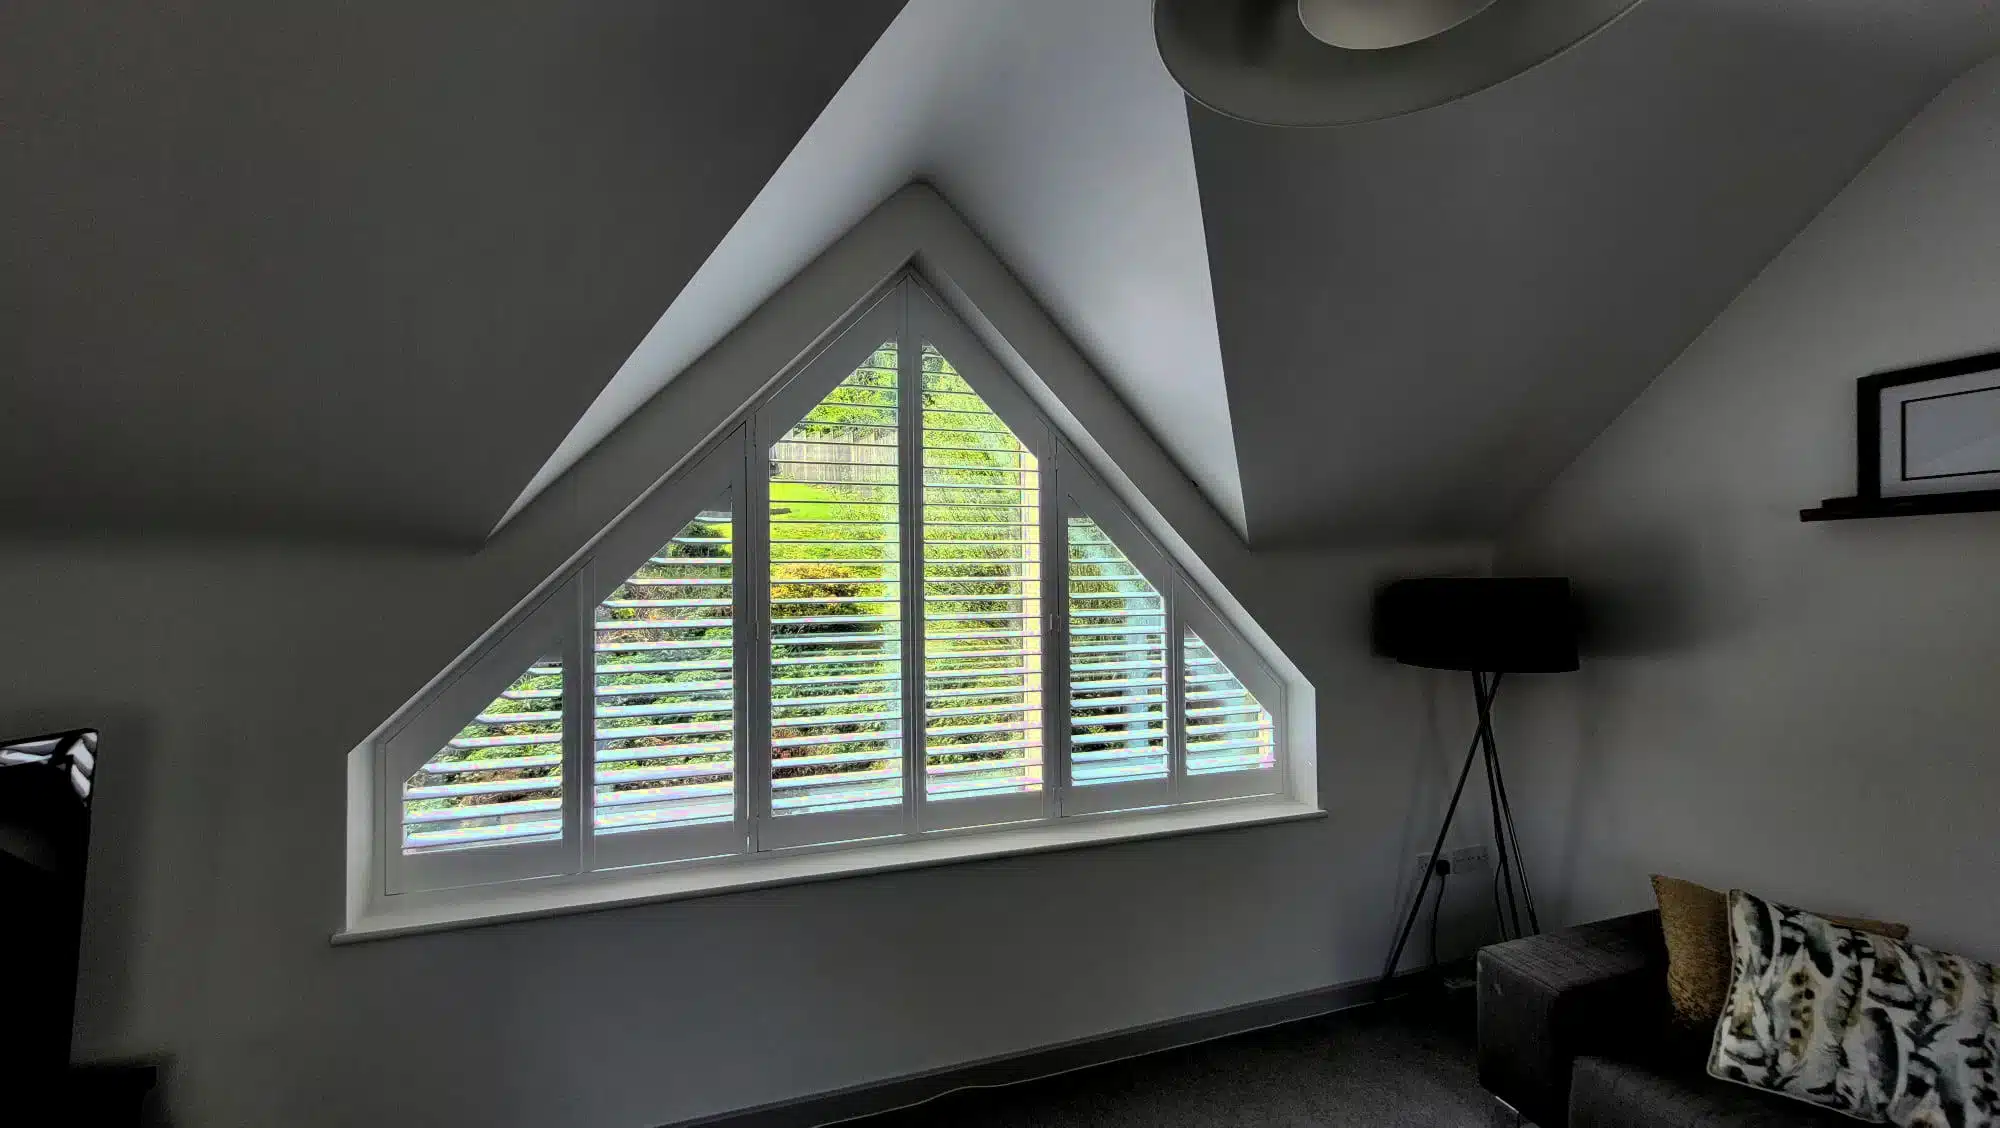
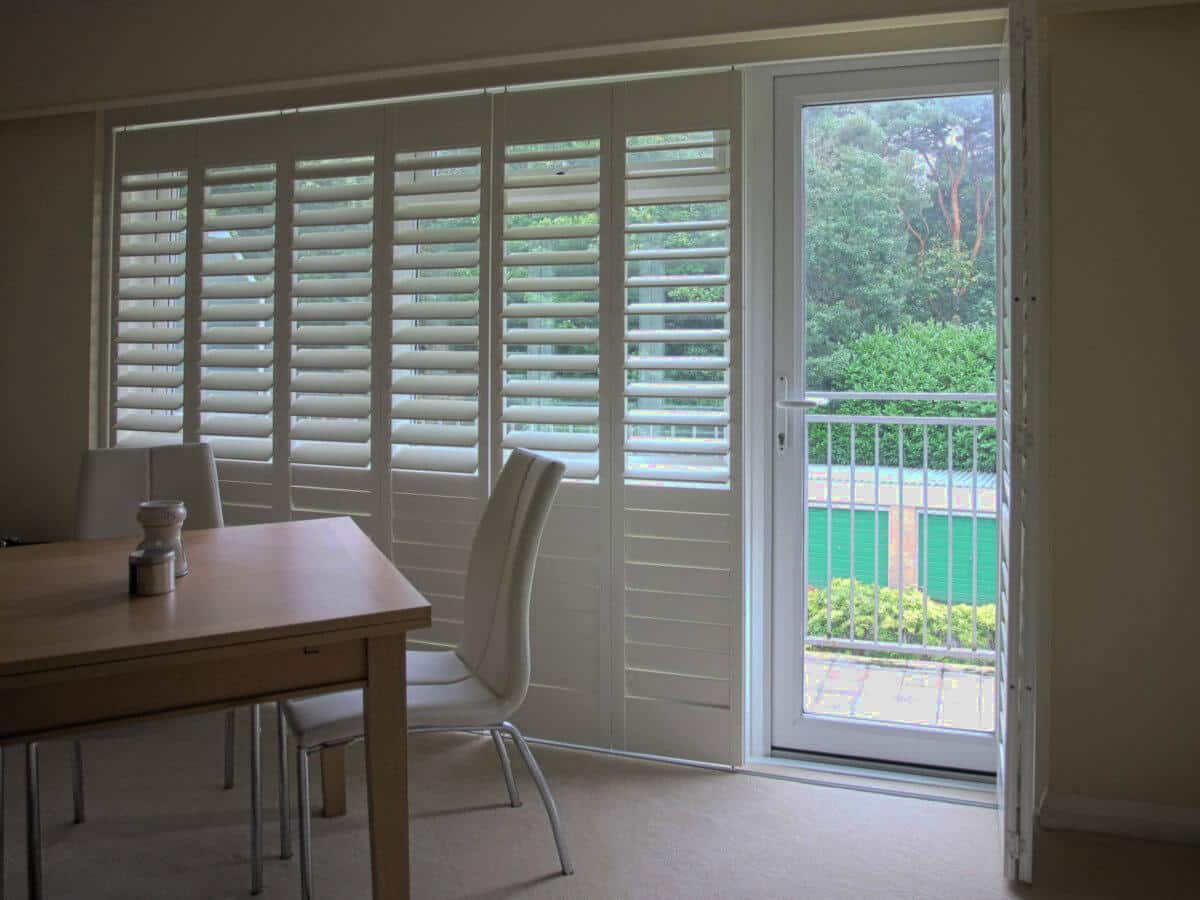
Tier-on-tier shutters consist of two independently operating panels, allowing you to open the top tier while keeping the bottom tier closed, or vice versa. This unique design is beneficial for:
- Optimizing natural light
- Enhancing privacy
- Improving ventilation
2. Selecting the Right Shutters
Before diving into the installation process, it’s crucial to choose the right materials and styles that fit your home’s aesthetic and functional requirements. Consider the following:
- Material: Choose from materials like wood, composite, or vinyl based on durability and maintenance. For detailed insights on sustainable materials, refer to FSC’s guide on sustainable materials.
- Color and Finish: Select a finish that complements your interior design.
- Size: Ensure that you measure your windows accurately for a perfect fit.
3. Tools Required for Installation
Gathering the right tools beforehand is essential for a smooth installation process. Here’s a list of tools you might need:
- Measuring tape
- Level
- Drill and drill bits
- Screwdriver
- Stud finder
- Pencil
- Step ladder
- Safety goggles
4. Measuring Your Windows
Accurate measurements are critical for tier-on-tier shutter installation. Follow these steps:
- Using a measuring tape, measure the width at three points: the top, middle, and bottom of the window.
- Record the smallest measurement to determine the shutter width.
- Next, measure the height from the top of the window frame to the sill at both sides.
- Use the smallest height measurement for a proper fit.
5. Preparing for Installation
Once you have your shutters ready, prepare the area for installation:
- Clear the window sills and nearby furniture.
- Ensure the wall surfaces around the window are clean and dry.
- Inspect the window frame for any damage that might affect installation.
6. Installing the Shutter Frame
The first step in the actual installation is to install the shutter frame. Follow these best practices:
- Start by holding the frame against the window to check for fit.
- Use a level to ensure it’s straight. Adjust as necessary.
- Mark the drill points using a pencil on the wall through the pre-drilled holes in the frame.
- Using a drill, create holes in the wall if necessary, then affix the frame with screws.
7. Attaching the Tier-on-Tier Panels
Now that the frame is secure, it’s time to attach the tier-on-tier panels.
- Start by locating the hinges on each panel.
- Align the panels with the frame and attach the hinges using screws.
- For correct operation, ensure the panels open smoothly.
- Check the alignment; make adjustments if necessary.
8. Finalizing the Installation
After attaching the panels, test their operation:
- Open and close each tier to ensure they function properly.
- Adjust the hinges if any resistance is felt.
- Check for any gaps in the panels and adjust accordingly.
9. Maintenance Tips for Longevity
To keep your tier-on-tier shutters looking their best, regular maintenance is key:
- Cleaning: Dust the shutters with a damp cloth and mild detergent regularly.
- Check Hinges: Inspect hinges and screws periodically for tightness and functionality.
- Repairs: Address any damages immediately to prevent worsening issues.
10. When to Seek Professional Help
While installing tier-on-tier shutters can be a DIY project, there are instances where professional assistance is beneficial:
- If you lack the necessary tools or experience.
- If your windows have irregular shapes or sizes.
- If you want to ensure a flawless finish and appearance.
11. Conclusion
By following these best practices for tier-on-tier shutter installation, you can ensure a beautiful and functional addition to your home. Whether you choose to go the DIY route or hire professionals, the right approach will enhance your interiors with style and practicality. For further information on home improvement and maintenance, consult Living Etc. For more expert advice, contact us at London Essex Shutters & Blinds.
For inquiries, call us at 01277 592419 or email us at londonshutters@outlook.com.
Your dream home awaits!
