Step-by-Step Tier-on-Tier Shutter Installation Guide
Step-by-Step Tier-on-Tier Shutter Installation Guide
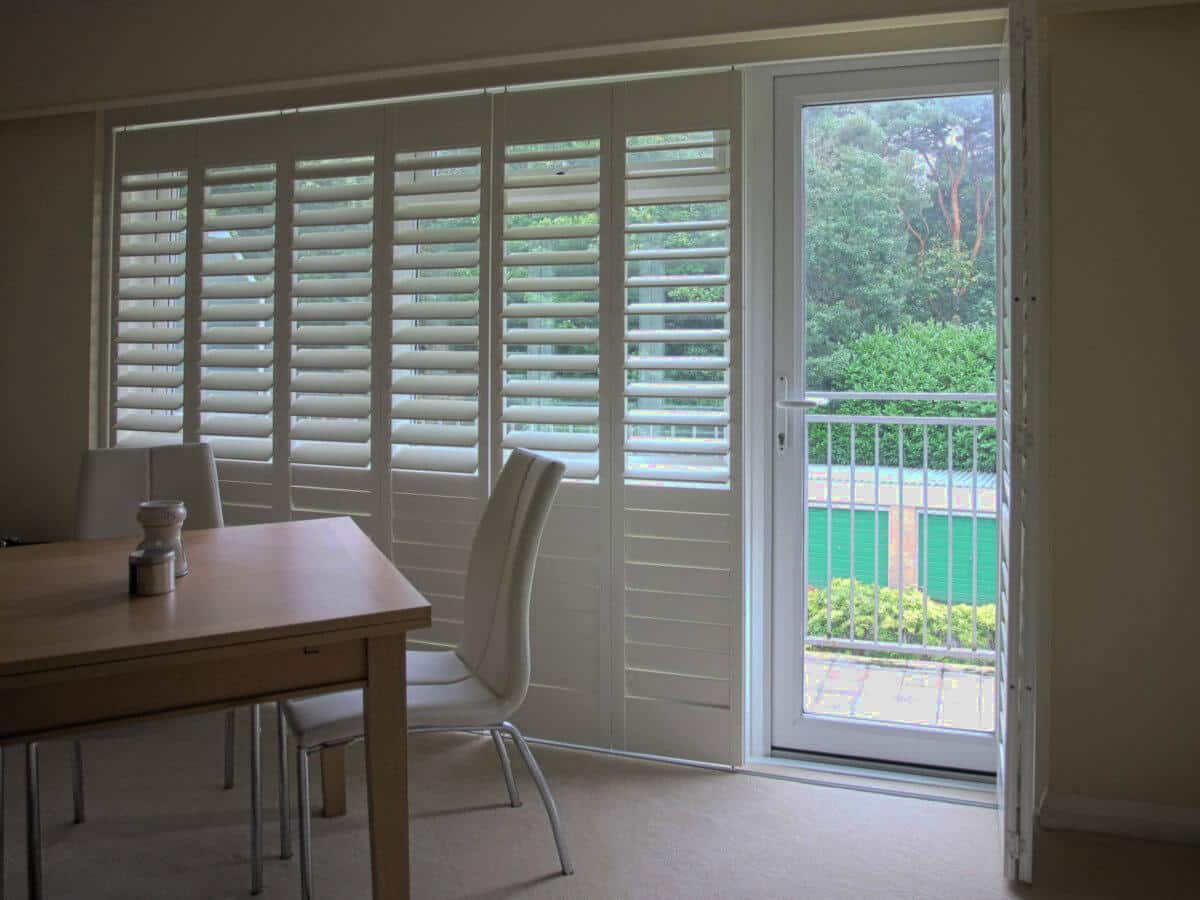
At London Essex Shutters & Blinds, we understand that tier-on-tier shutters provide an unparalleled blend of style and functionality. Whether you’re aiming for light control, privacy solutions, or simply looking to enhance your home’s decor, this guide will walk you through a comprehensive step-by-step tier-on-tier shutter installation process.
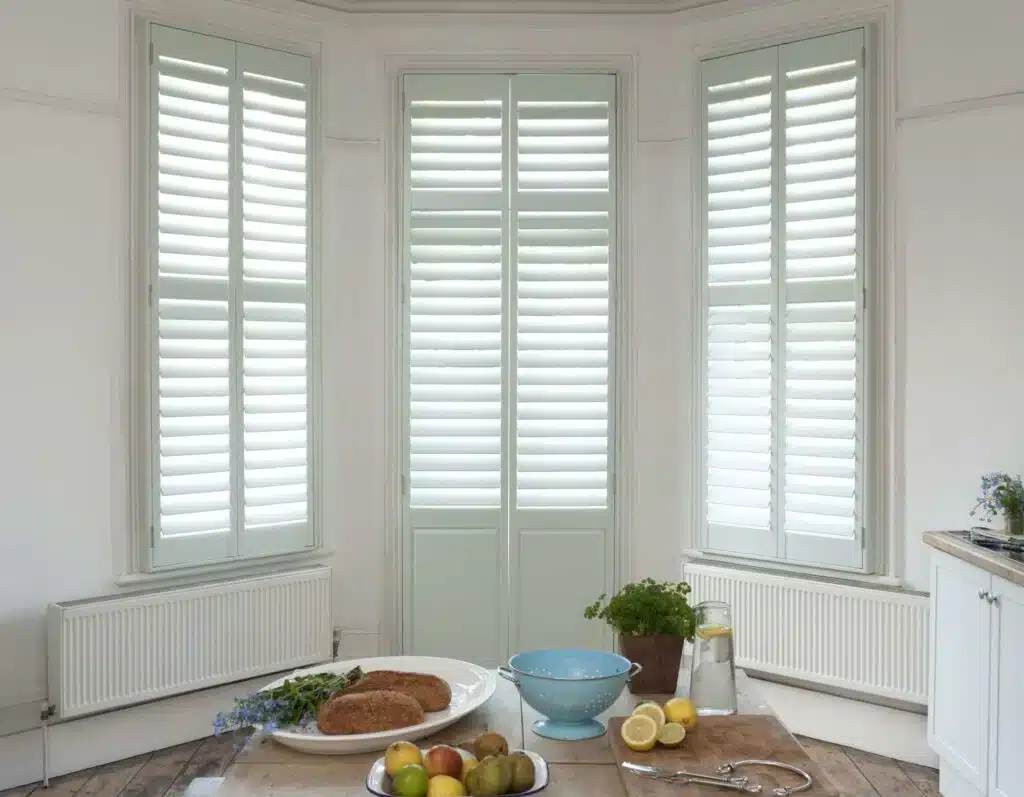
What Are Tier-on-Tier Shutters?
Tier-on-tier shutters consist of two sets of panels stacked one above the other, allowing you to operate them independently. This feature gives you the flexibility to enjoy natural light without sacrificing privacy.
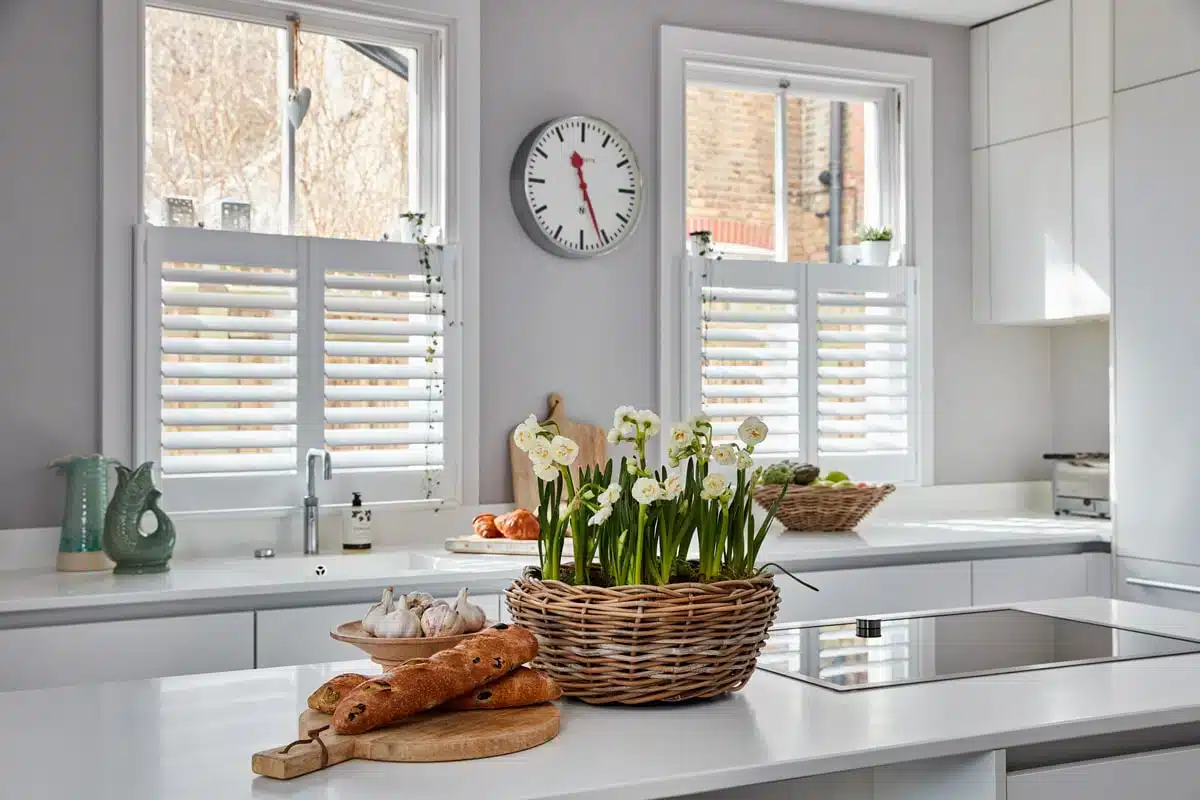
Benefits of Tier-on-Tier Shutters
- Enhanced Privacy: Open the top tier for light while keeping the bottom tier closed.
- Versatile Design: Perfect for windows of various shapes and sizes.
- Energy Efficiency: Insulation properties can help lower energy bills.
Tools and Materials Needed for Installation
Before beginning your step-by-step tier-on-tier shutter installation, gather the following tools and materials:
- Measuring Tape
- Drill and Drill Bits
- Screwdriver
- Level
- Stud Finder
- Ladder (if necessary)
- Tier-on-Tier Shutter Kit
Step 1: Measure Your Windows
Accurate measurements are critical for a successful step-by-step tier-on-tier shutter installation. Measure the width and height of the window frame where the shutters will be installed. Use a level to ensure accurate placement. For more information on building regulations regarding window treatments, check the Planning Portal.
Step 2: Prepare Your Shutters
Once you have your measurements, prepare your tier-on-tier shutters for installation:
- Unbox your shutter panels and hardware.
- Check for any damages or missing components.
- Attach the necessary hinges and brackets as per the manufacturer’s instructions.
Step 3: Install the Upper Tier
Begin with the installation of the upper tier:
- Determine the position where the upper tier will be mounted.
- Using a stud finder, locate the wall studs for secure installation.
- Mark the positioning of the brackets on the wall.
- Drill holes into the marked spots and attach the brackets with screws.
- Carefully lift and attach the upper tier shutter panel to the brackets.
- Use a level to ensure it is straight, making adjustments as necessary.
Step 4: Install the Lower Tier
Repeat similar steps for the lower tier:
- Align the lower tier with the upper tier for aesthetic continuity.
- Mark and drill holes for the lower tier brackets.
- Install the brackets securely onto the wall.
- Attach the lower shutter panel and ensure it aligns with the upper tier.
Step 5: Finishing Touches
After both tiers are installed, check for proper operation:
- Make sure both upper and lower panels operate independently.
- Check for any gaps or misalignments.
- Apply finishing hardware like decorative rods, if included in your kit.
- Clean your shutters with a damp cloth to remove any dust from installation.
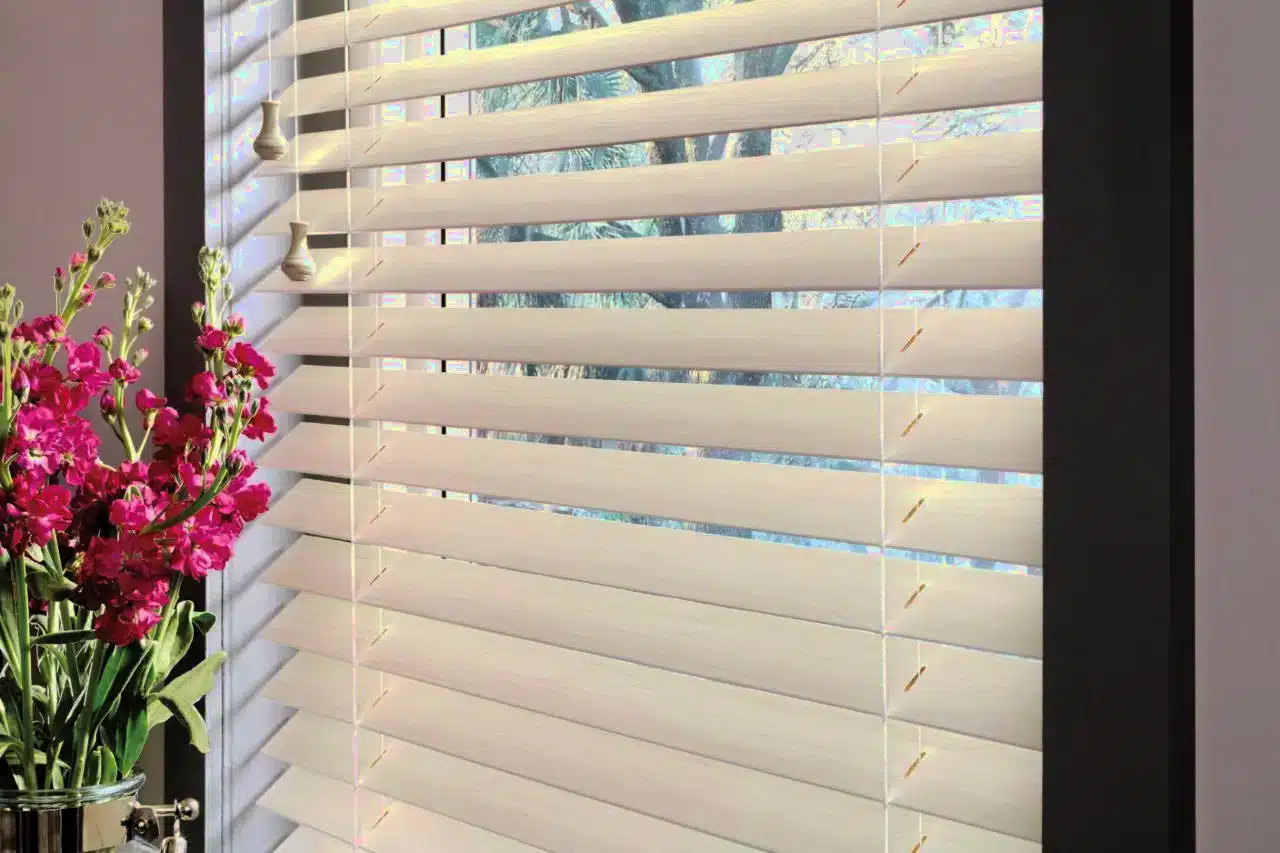
Maintenance Tips for Your Tier-on-Tier Shutters
To maintain the beauty and functionality of your tier-on-tier shutters, keep these tips in mind:
- Regularly dust the slats using a microfibre cloth.
- Avoid harsh chemicals; instead, use a gentle cleaner for stains.
- Check for loose screws and tighten them as needed.
When to Call a Professional
If you encounter difficulties during any stage of the step-by-step tier-on-tier shutter installation, it might be best to consult with a professional. Our team at London Essex Shutters & Blinds is always here to help you with expert installation services, ensuring your shutters are installed perfectly. We offer our professional installation services across various locations, including Warley and Basildon. For insights on window materials, you can visit Which? Blinds and Shutters Review.
Contact Us
For more information on tier-on-tier shutters or to schedule an installation, contact London Essex Shutters & Blinds at 01277 592419 or email us at londonshutters@outlook.com. Visit our website for a wide range of shutter and blind options.
Conclusion
Installing tier-on-tier shutters can instantly enhance the aesthetic of your home or office, provide increased light control, and improve privacy. Follow our step-by-step tier-on-tier shutter installation guide, and enjoy the elegance and functionality of these beautiful window treatments. For those considering cost-effective options, check out our guide on shutter installation costs in Dagenham for more insights. You can also explore design inspirations at Livingetc.
