Step-by-Step Guide to Installing Tier-on-Tier Shutters Successfully
Step-by-Step Guide to Installing Tier-on-Tier Shutters
Are you considering enhancing your home with beautiful tier-on-tier shutters? Look no further! This step-by-step guide to installing tier-on-tier shutters will help you navigate through the entire installation process, ensuring you achieve beautiful results. At London Essex Shutters & Blinds, we understand the importance of high-quality window treatments, and our team is ready to assist you with every step, from selection to installation.
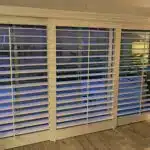
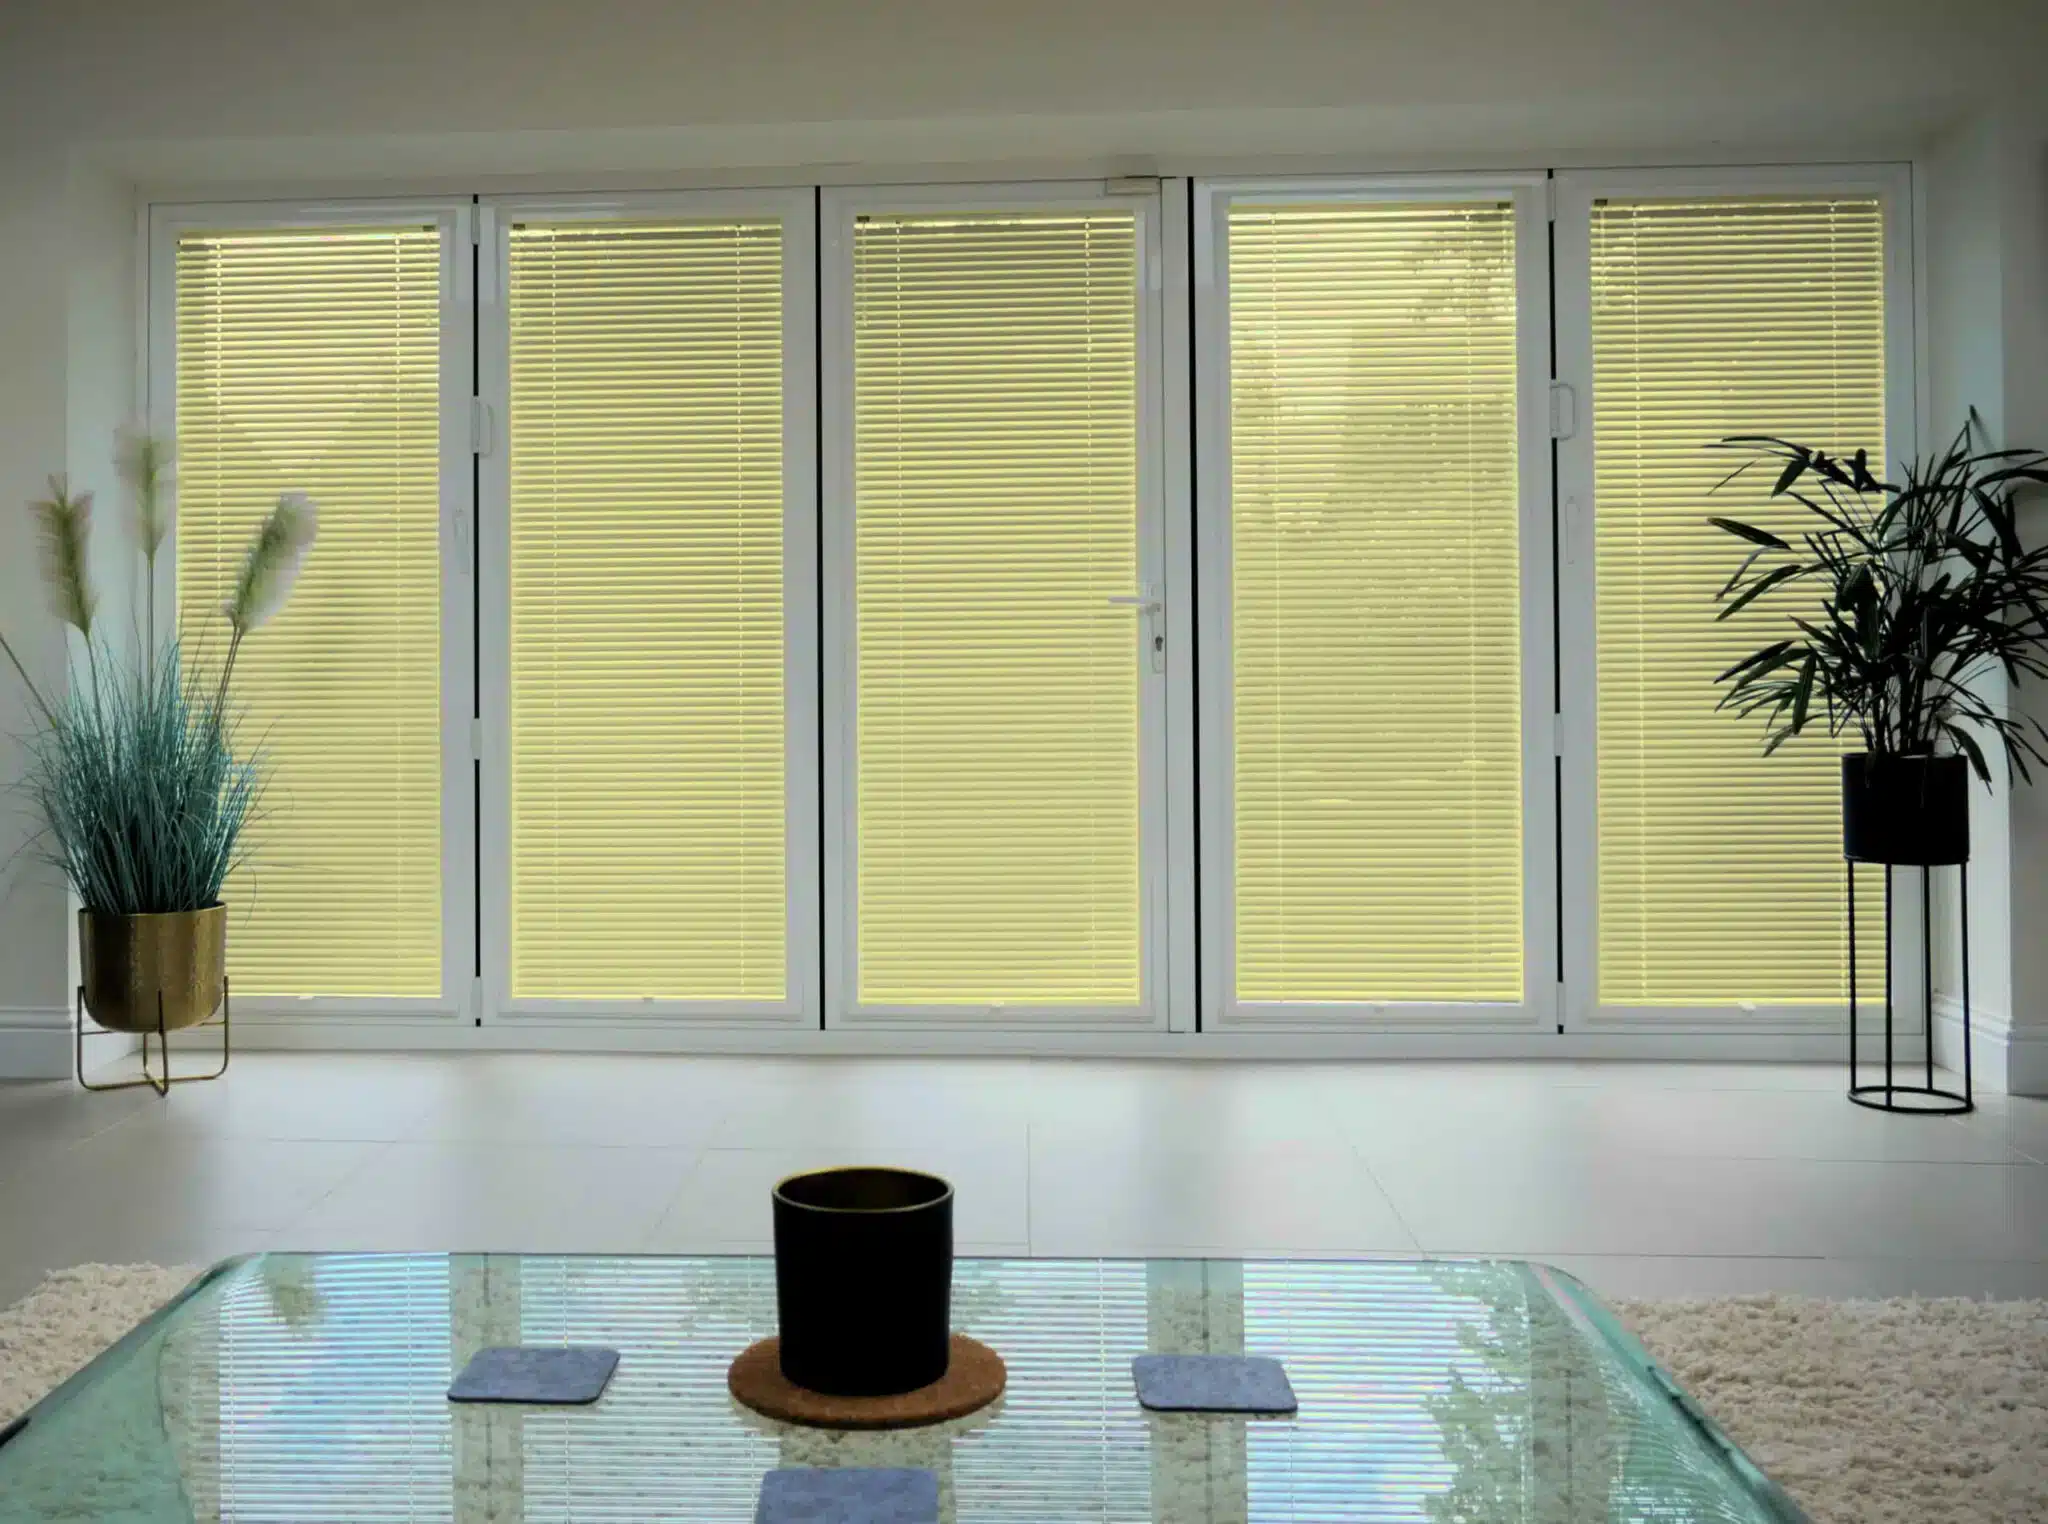
Why Choose Tier-on-Tier Shutters?
Tier-on-tier shutters are a popular choice for many homeowners due to their versatile functionality and stylish appearance:
- Light Control: With independent top and bottom panels, you can easily control the amount of light entering your room.
- Privacy Solutions: Adjustable slats offer excellent privacy options while still allowing natural light.
- Stylish Design: Their classic look can enhance both modern and traditional interiors, making them a perfect choice for any room.
- Energy Efficiency: Tier-on-tier shutters can help regulate indoor temperatures, providing energy savings year-round. Learn more about energy efficiency and window treatments here.
Tools and Materials Required
Before diving into our step-by-step guide to installing tier-on-tier shutters, gather the necessary tools and materials:
- Tier-on-tier shutters (custom-sized)
- Measuring tape
- Drill
- Screwdriver
- Level
- Pencil
- Shutter installation brackets
- Mounting screws and anchors
Step 1: Measure Your Windows
Accurate measurements are critical for a perfect fit. Follow these guidelines for effective measuring:
- Measure the width of your window opening at the top, middle, and bottom. Use the smallest measurement for your shutters.
- Measure the height from the top of the window frame to the bottom. This is important for determining the length of your shutters.
- Consider whether you want your shutters to mount inside the window frame or outside.
Step 2: Prepare for Installation
After obtaining your measurements, it’s time to prepare for installation:
- Decide on the type of installation: inside or outside mount.
- Ensure your window frame is clean and free from dust or debris.
- Gather your tools and materials in your work area.
Step 3: Mark Bracket Placement
Using your pencil and level, mark where you will install the brackets:
- For inside mounts, place the brackets approximately 2 inches from the top of the window frame.
- For outside mounts, measure out from the window frame, considering your desired coverage area.
- Use the level to ensure your markings are straight.
Step 4: Install the Brackets
Now it’s time to install the mounting brackets:
- Using your drill, create pilot holes where you marked your bracket placement.
- Attach the brackets using screws and anchors for a secure fit.
- Ensure the brackets are level and sturdy before proceeding.
Step 5: Prepare the Shutters
With your brackets in place, it’s time to prepare the shutters for installation:
- Carefully unpack your tier-on-tier shutters, ensuring not to damage them.
- Check the components, confirming that all pieces are included as per the manufacturer’s instructions.
- Identify the top and bottom panels.
Step 6: Install the Top Tier
Begin by installing the top tier of your shutters:
- Align the top panel with the installed brackets.
- Secure the hinges into the brackets, making sure the panel swings freely.
- Test the operation of the top tier to ensure proper movement.
Step 7: Install the Bottom Tier
Next, repeat the process for the bottom tier:
- Align the bottom panel with its corresponding brackets.
- Secure the hinges, ensuring there is no obstruction in movement.
- Test the operation of both tiers to ensure they function as expected.
Step 8: Adjust and Level Shutters
With both tiers installed, it’s time to make necessary adjustments:
- Check the gaps between the panels and the window frame, adjusting if necessary.
- Use the level to confirm both tiers are straight and aligned.
- Make any final adjustments to ensure uniform movement and appearance.
Step 9: Final Touches
Once everything is in place, these final steps will ensure your shutters look their best:
- Clean the shutters to remove any dust or fingerprints.
- Test the operation again to ensure smooth opening and closing for both tiers.
- Consider adding finishing touches, such as decorative rods or ties, to enhance the overall aesthetic.
Maintenance Tips for Your Tier-on-Tier Shutters
To keep your tier-on-tier shutters looking great, consider these maintenance tips:
- Regular Cleaning: Dust or wipe them down regularly with a soft cloth to maintain their appearance.
- Check Hardware: Periodically inspect screws and hinges to ensure they remain secure.
- Adjust Panels as Needed: Over time, slight adjustments may be necessary to keep the panels operating smoothly.
Conclusion
Installing tier-on-tier shutters can significantly enhance your home’s interior design while providing essential privacy and light control. Following this step-by-step guide to installing tier-on-tier shutters will ensure a successful installation process. If you require assistance or prefer a professional installation, don’t hesitate to contact London Essex Shutters & Blinds at 01277 592419. Our expert team is here to provide you with exceptional service tailored to your needs. Learn more about our shutter installation costs or check out our services in Fobbing and Thurrock for more options. For guidelines on window safety and installation, consider visiting this resource.
