Step-by-Step Shutters Installation Guide Essex - Expert Tips
Step-by-Step Shutters Installation Guide Essex
Welcome to our comprehensive step-by-step shutters installation guide Essex! If you’re considering enhancing your home with premium plantation shutters, you’re in the right place. Our team at London Essex Shutters & Blinds is dedicated to providing you with the best possible service, but sometimes a DIY approach is what you want. This guide will walk you through the entire process, ensuring that your installation goes smoothly.
Understanding the Basics of Shutter Installation
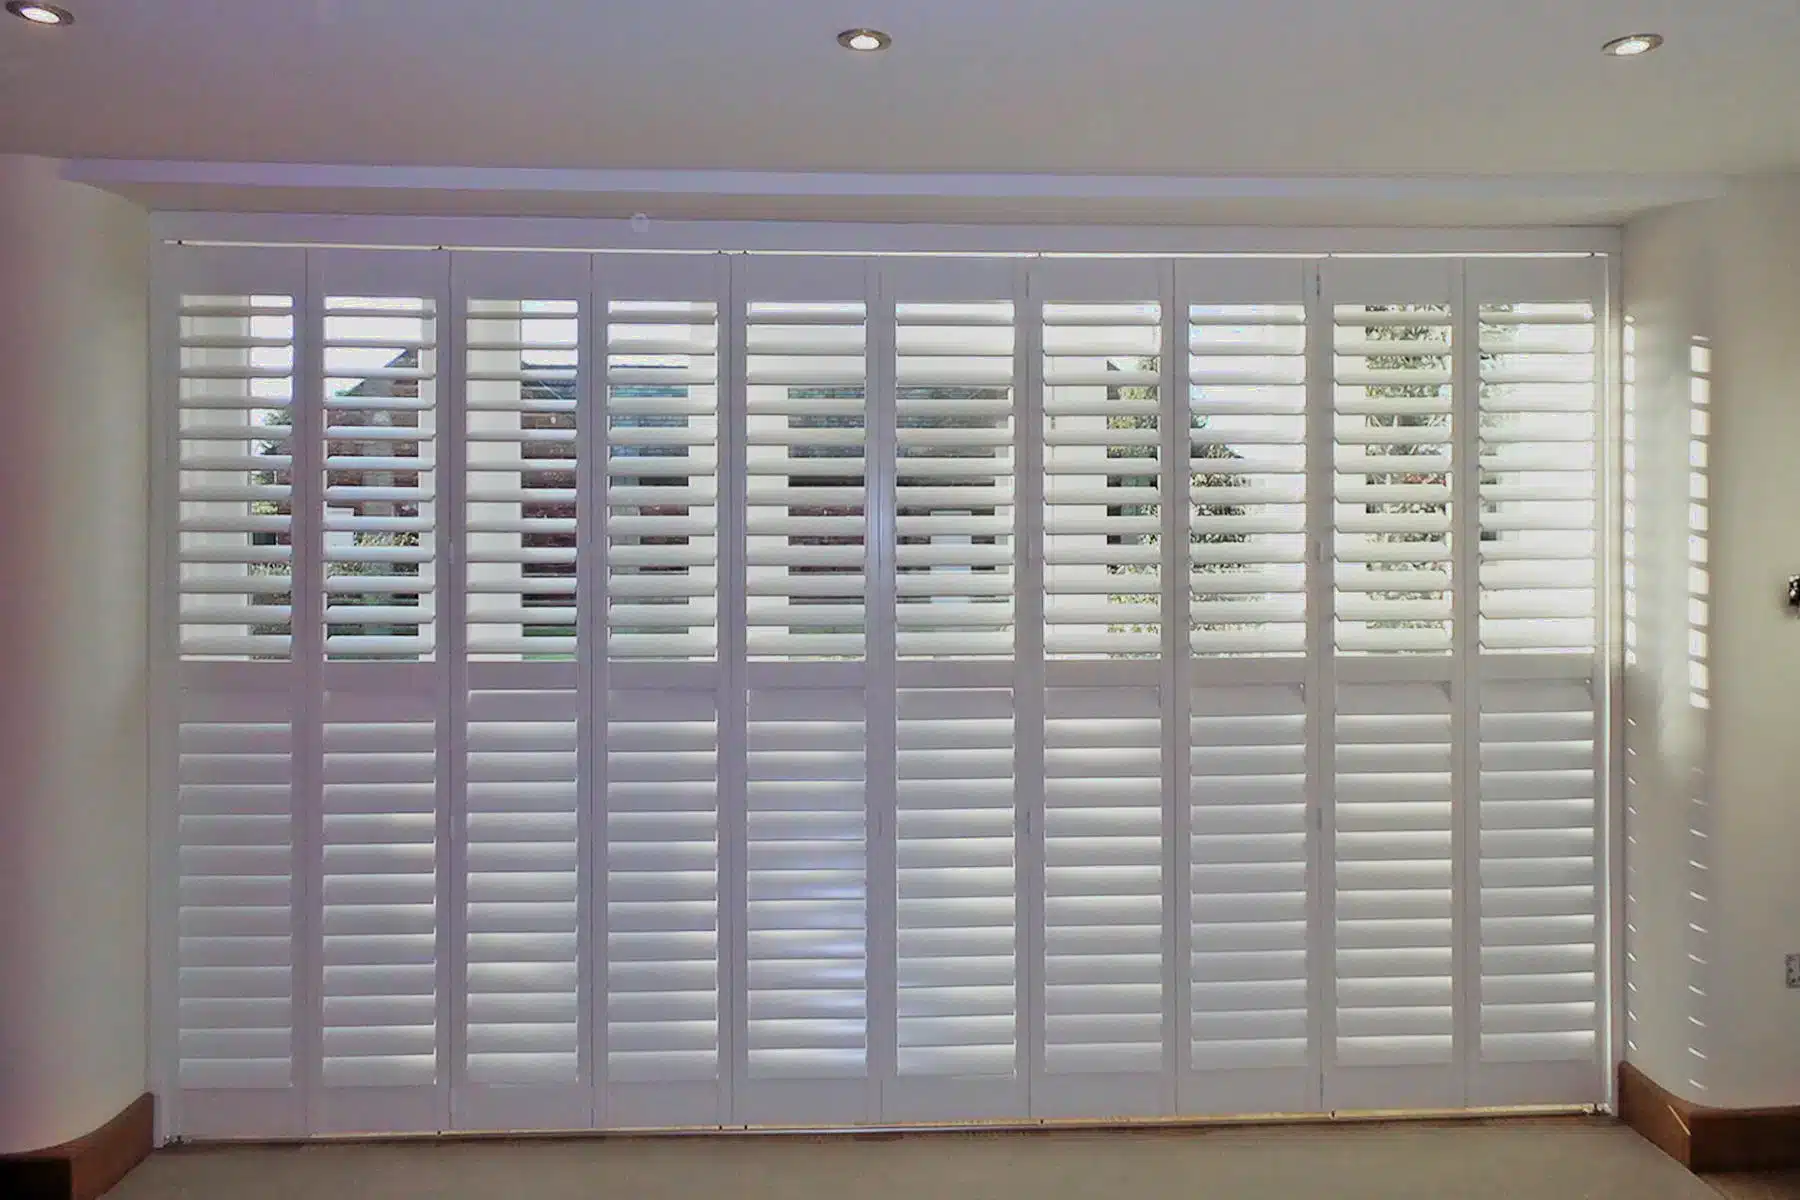
Before diving into the technical aspects of installation, it’s important to understand what plantation shutters are. These window coverings are made from various materials and are designed to provide excellent light control and privacy. They can be customized in color and design to match your home’s aesthetic.
Why Choose Plantation Shutters?
- Durability: Plantation shutters are crafted to last, often made from high-quality materials.
- Energy Efficiency: They help in regulating indoor temperatures, reducing energy bills. For more information on energy efficiency, visit this government resource.
- Style and Elegance: They elevate the interior decor of any room.
Tools and Materials Needed
Before you start, ensure you have the right tools and materials:
- Tools: Drill, level, measuring tape, screwdriver, and a saw.
- Materials: Plantation shutters, mounting hardware, and any additional tools based on your shutter type.
Measuring Your Windows
One of the most critical parts of installing shutters is accurate measurements. Here’s how to do it:
- Measure Width: Measure the width at three points: the top, middle, and bottom of the window. Use the smallest measurement for your order.
- Measure Height: Measure the height from the top of the window frame to the bottom at three points (left, center, right). Use the shortest measurement.
- Check for Squareness: Measure diagonally across the window. If the two measurements are not equal, your window may not be square, and you may need special adjustments.
Ordering Your Plantation Shutters
Once you have the measurements, it’s time to order your shutters. At London Essex Shutters & Blinds, we offer a range of customizable options to fit your style:
- Color Options
- Size Customizations
- Material Choices
Preparing for Installation
Before starting the installation, prepare the workspace to ensure a smooth process:
- Remove any existing window treatments.
- Clean the window frame to ensure the shutters will fit properly.
- Have someone assist you with lifting and holding shutters during installation.
Installation Steps
Now, you are ready to install your shutters according to this step-by-step shutters installation guide Essex:
Step 1: Attach the Hinges
Start by attaching the hinges to the frame of the shutter. Follow these steps:
- Hold the shutter panel against the window frame.
- Use a level to ensure it is straight.
- Mark where the hinges will be attached. Typically, hinges are placed 7-10 inches from the top and bottom of the shutter.
- Drill pilot holes for the screws.
- Secure the hinges with screws.
Step 2: Install the Shutter Frame
Next, install the shutter frame:
- Align the shutter frame with the window opening.
- Use a level to ensure it is straight.
- Mark the position of the mounting brackets on the wall or window frame.
- Drill pilot holes and secure the mounting brackets in place.
Step 3: Hang the Shutter Panels
With the frame secure, it’s time to hang the panels:
- Lift the shutter panel and align the hinges with the brackets.
- Carefully slide the panel into the hinges.
- Check the functionality by opening and closing the shutters.
Step 4: Adjusting and Leveling
Once the shutters are hung, check to ensure they are level and adjust as necessary:
- Ensure that both panels open and close smoothly.
- If adjustments are needed, loosen the screws on the hinges and realign as necessary.
Step 5: Finishing Touches
Finally, complete your installation:
- Install any remaining hardware, such as magnetic catches or closure clips.
- Check for any scratches or imperfections and touch up if needed.
Maintenance Tips for Your Plantation Shutters
To keep your plantation shutters looking their best, consider these maintenance tips:
- Dust the shutters regularly with a soft cloth or use a vacuum attachment.
- For deeper cleaning, use mild soap and water. Avoid abrasive materials that could scratch the surface.
- Inspect the hinges and screws periodically to ensure they remain tight. You can find more about safety and maintenance from the British Blind and Shutter Association.
Conclusion
Installing plantation shutters can significantly enhance your home’s look and functionality. By following this step-by-step shutters installation guide Essex, you can ensure a successful installation process. For those who prefer a professional touch, don’t hesitate to reach out to us at London Essex Shutters & Blinds for custom solutions tailored to your needs.
For any inquiries or assistance, feel free to call us at 01277 592419 or email us at londonshutters@outlook.com.
